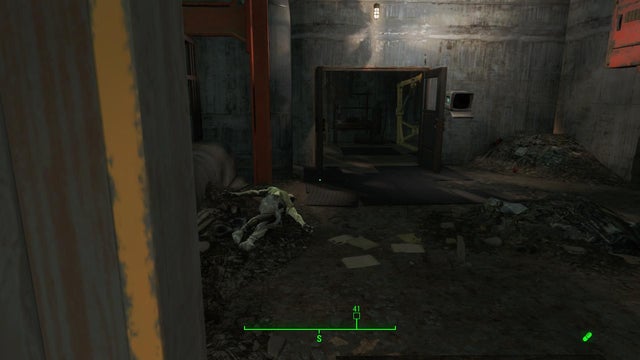
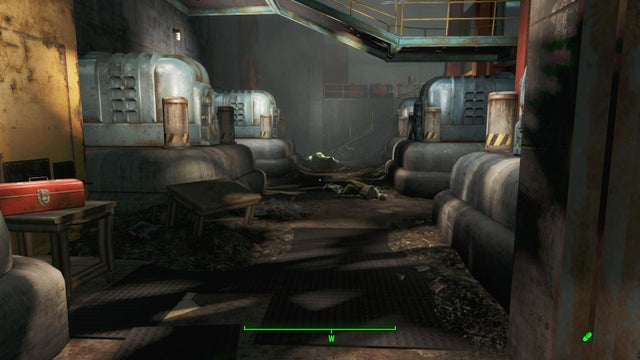
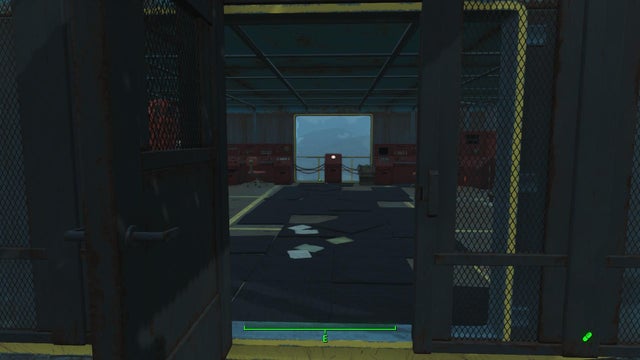
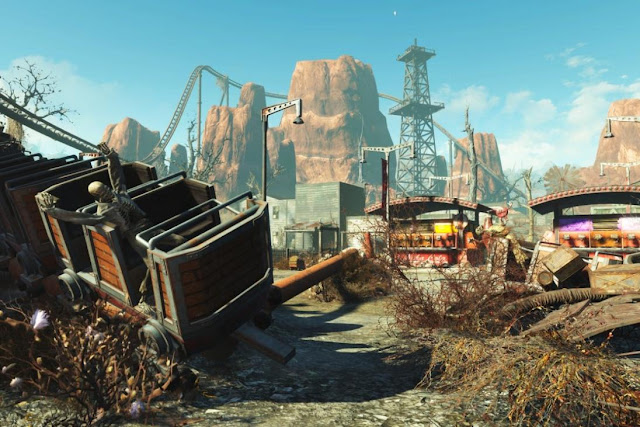
Note that there’s a suit of Power Armor hidden on the bottom floor behind this locked door.
Galactic Zone dungeon Star Cores
Starlight Interstellar Theater Star Cores
- From the entrance, take the left corridor until you reach the bathrooms towards the far end. Enter the men’s bathroom (blue paint) and look for a crack in one wall. There’s a dead trader in here with a Star Core.
- From the entrance, explore the right corridor until you reach the kitchen at the far end. There’s a door in here behind which you’ll find the second Star Core.
- Enter the main cinema area. There’s a console towards the rear of the room, opposite the screen, with a third Star Core.
- Take either of the elevators to the catwalks or the control room above the cinema. There’s a fourth Star Core in a console in the control room.
RobCo Battlezone Star Cores
- There are six Star Cores in this dungeon, but you’ll need to survive some tough robot encounters to claim the last one. If you don’t need every Star Core, skip the fourth one here.
- From the entrance, enter the audience seating area and immediately turn left. Search along the wall for a locked door leading to a room with two Star Cores.
- Take one of the passages between the blocks of audience seating to find the souvenir shop tucked away at the back. There’s a Star Core on a shelf.
- Facing the robot battle arena, circle anti-clockwise to enter the tunnels underneath it; beware the sentry bot. There’s a Star Core on a console.
- Finally, make a save and then enter the arena itself, where you can collect two Star Cores. Three waves of hostile robots will spawn in before you can exit, so be careful.
Vault-Tec: Among the Stars Star Cores
- There are six Star Cores in this confusing and occasionally deadly dungeon. Check the scenery in each room to orientate yourself.
- From the entrance, take the elevator down to the start of the “ride”. In the area with rocks and Protections, look for a locked door hidden away from the ride path. There’s a Star Core in the room beyond.
- Follow the ride path until you reach a living room display. There are multiple exits from this room. One locked sliding door leads to a small observation room with a Star Core.
- Two of the exits from the living room area form a short loop. Along this route, there’s a highly radioactive room. There’s a Star Core in this room.
- Finally, there’s a nursery off the living room display area. Pick the locked sliding door here to enter the central office – watch out for the Novatron. One of the doors in this room leads to the main observation center, where three Star Cores and a loot chest await.
Nuka Galaxy Star Cores
- This linear dungeon includes seven Star Cores. If you’re a stealth character, activating ride lighting at any active terminal will make it easier to sneak up on the many enemies and turrets. Otherwise, the standard emergency lighting makes navigation and spotting Star Cores much easier. Turn up your screen’s brightness!
- From the entrance, proceed through the queueing lanes to the boarding area. Facing the direction the ride travels, look for a door to the right of the ride path. There’s a Star Core in this room.
- From the last room, take the door leading deeper into the ride. When you reach a large room with multiple planets, cross to the opposite side of the ledge you start on and find some stairs leading down. Cross the room to reach a corridor, and collect a Star Core from the console part way along with it.
- Continue along the corridors and take the elevator on your left. Turn left out of the elevator and find a small opening leading to the next room. There’s a console directly opposite this entrance where you can collect another Star Core.
- Proceed right through the rocky set to reach a hidden door leading to a long set of stairs leading up. When you emerge back onto the ride track, immediately turn left and climb a short flight of stairs to reach a console with another Star Core.
- At the end of the ride, you can collect a Star Core and a key from a console at the disembarkation zone. Use the key on the nearby door to open a path back to the ride entrance. In the short tunnel between the ride entrance and ride exit, there’s a short flight of stairs leading to an office. Collect a Star Core in here.
Nuka World and Galactic Zone Star Cores
Galactic Zone Star Cores
- One Star Core is found near a corpse near the mainframe in Starport Nuka.
- A second Star Core is found in a locked display case on the upper level of Starport Nuka.
- At the base of Starport Nuka, go through the mesh gate and search the huts and sheds for a third Star Core near another corpse.
- There’s a Star Core on the console at the top of the long stairs leading up to the Arcjet G-Force ride near Nuka Galaxy.
- Facing the entrance ramp to Nuka Galaxy, search to the right for a small shed with another Star Core.
- There’s one Star Core on the console near the bottom end of the Spacewalk; if you’re coming down the ramp from Starport Nuka, it’s on your right just at the end. Approaching from Robco Battlezone, it’s on the left before you go in and harder to see.
- The final Star Core is on the top level of Starport Nuka and is only accessible after completing the main story quest to restore power to Nuka World.
Nuka-World Star Cores
- On a table in the Nuka-Town Market, on the north side.
- Inside Nuka-Cade; turn right from the entrance and head back into an employee area.
- In a barn northeast of the junkyard found in the southwest of the map (the Hubologist quest will take you to the junkyard if you’re having trouble finding it).
- South of Doc Phosphate’s in Dry Rock Gulch, near a corpse.
- Near a corpse in the Nuka-Cola Bottling Plant; face the Quantum area and turn right to locate it.
Fallout 4 Nuka-World Tip: Where to Find the Power Plant Key
How to restore power to Nuka World
Being the good guy…
Going down the good route means turning on the three gangs in Nuka World and killing all the raiders. By starting the mission “Open Season” which is given to you by Mackenzie Bridgeman in Nuka Town USA you will be quested to kill the three leaders of the gangs. Once completed, you’ll be pointed toward the Nuka-World Power Plant on the west side of the map, Climbing to the top of the Power Plant you’ll find a security cage, and inside all, you’ll need to do is hit the big red button.


